Artworks1988Mirror


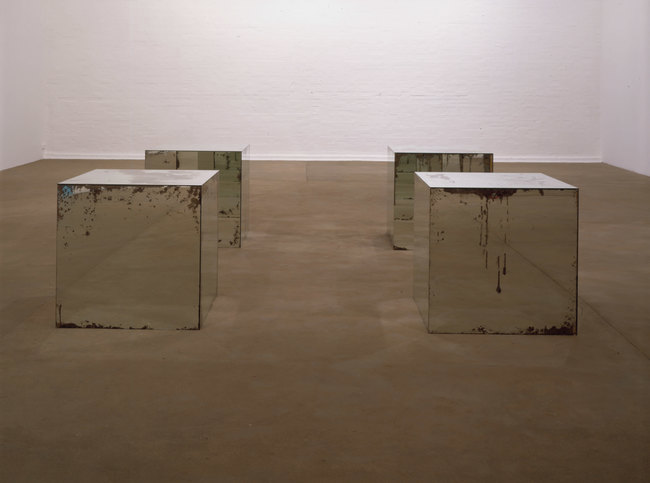
Mirror
Wood and perspex
2440 x 3650 x 2440 mm
Installation info: MIRROR INSTALLATION & DEINSTALLATION INSTRUCTIONS
Placing the floor:
Take the panels out of the crates and differentiate the position that each one should take in relation to the whole sculpture. The panels have their positions written on them on the inside center in pencil. Position the floor base and decide on its orientation. The base needs to be level so if the floor is on a slight slope or on uneven ground use small shims or wedges to keep it as flat and level as possible.
Bolt on the twelve floor plates in their corresponding positions, check that the letters correspond with one another and arrange so the letters are always facing up. Make sure sufficient pressure is applied when bolting the panels down so they are firm and secure.
Take the floor panel and slide it over the grid of floor plates so it rests on the floor base. Push down evenly to make sure it’s firmly in place. Test the floor panel is securely slotted into place by walking on the base and checking its firm under foot and there is no movement.
Joining the panels:
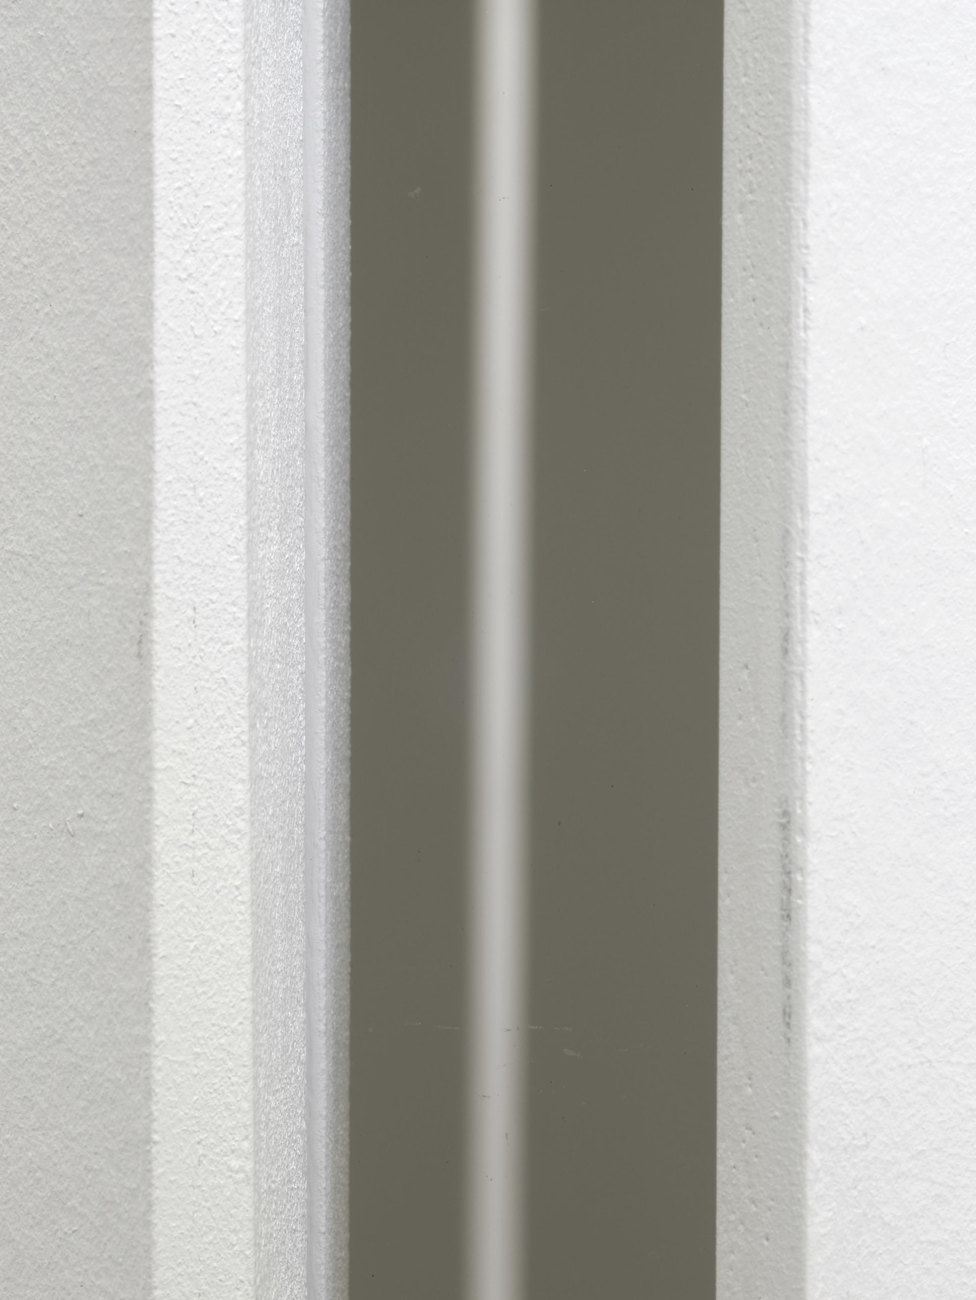
Select a perspex strip and place it into the rebate of one of the short sides of the floor panel. Lift the corresponding side panel onto the perspex strip so that the two panels sit at right angles. Make sure the perspex is evenly spaced within the rebate and that the panels are evenly slotted together with an equal gap visible between them.
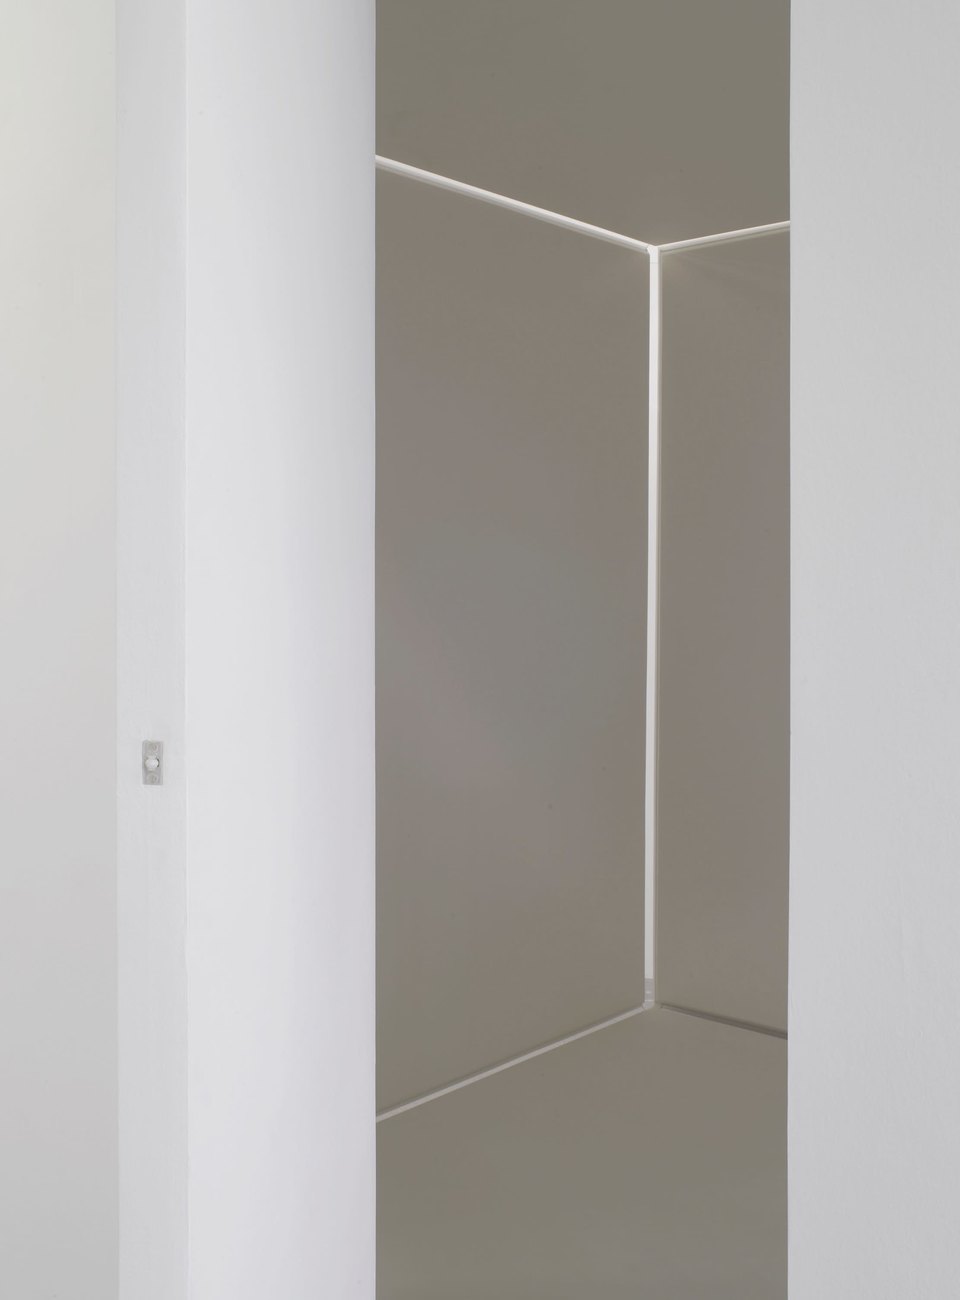
Make sure that someone continues to hold the side panel securely in place. Put the next Perspex strip into the rebate of the floor panel, this will join onto the back panel. Lift the back panel on the perspex as was done with the previous panel when the two panels are both securely held in position and evenly spaced. Slightly tip the two panels back by a few degrees so there is enough room to slot the vertical perspex strip between the two to form the corner. Fit this into place whilst simultaneously lifting the panels back into their vertical position.
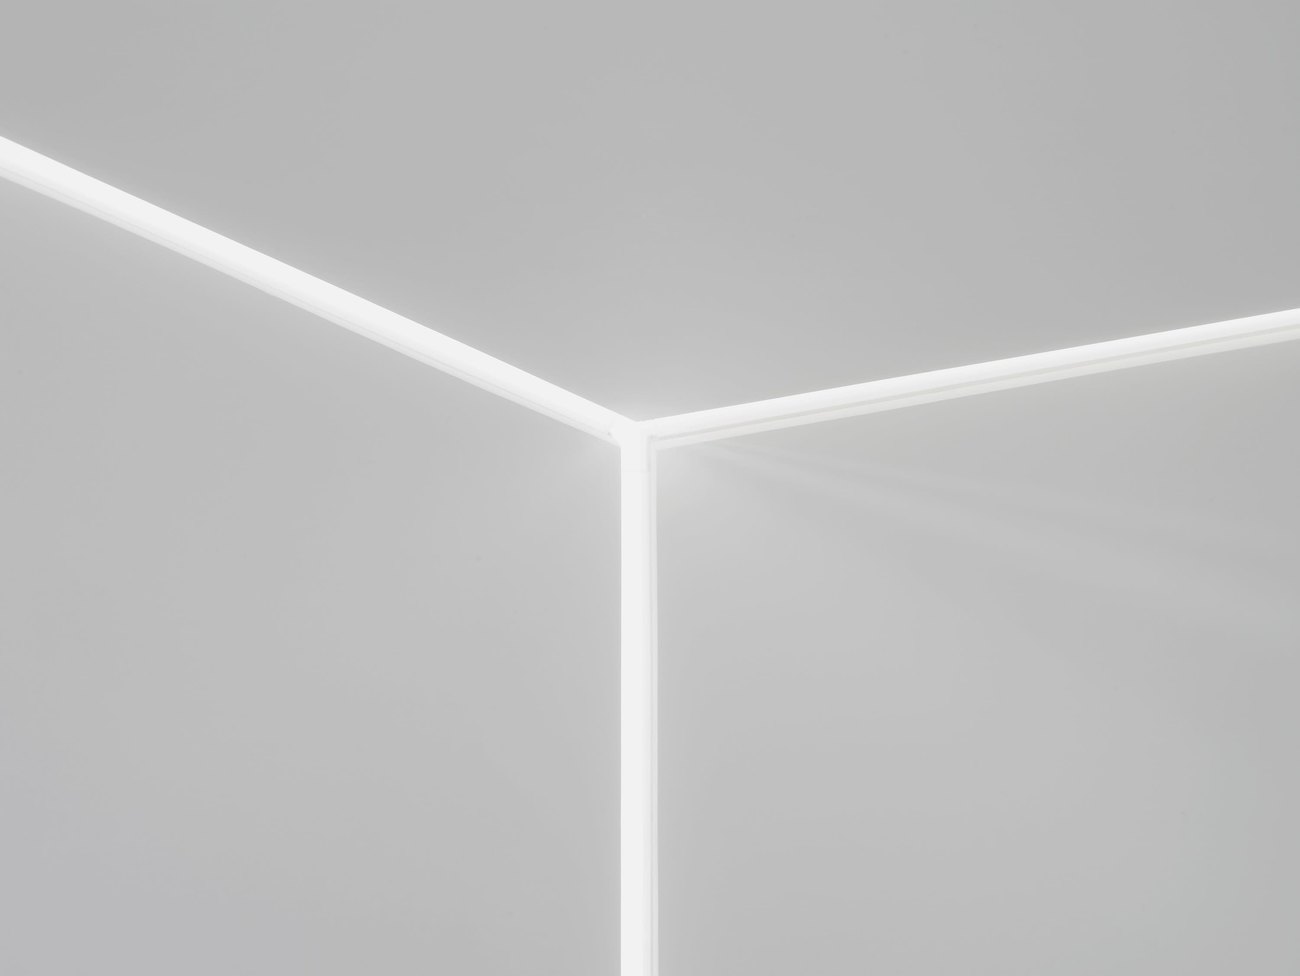
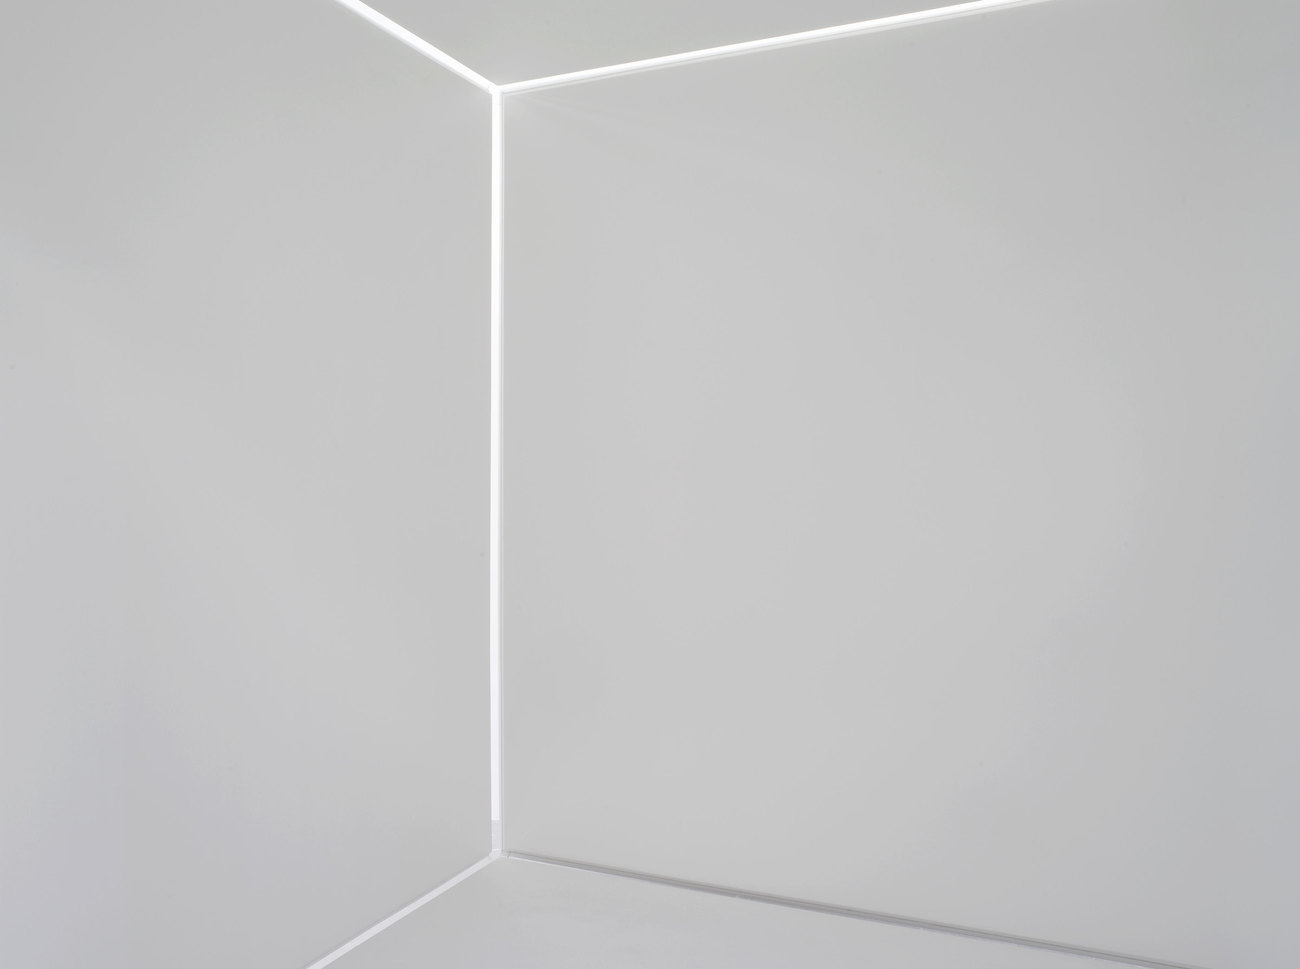
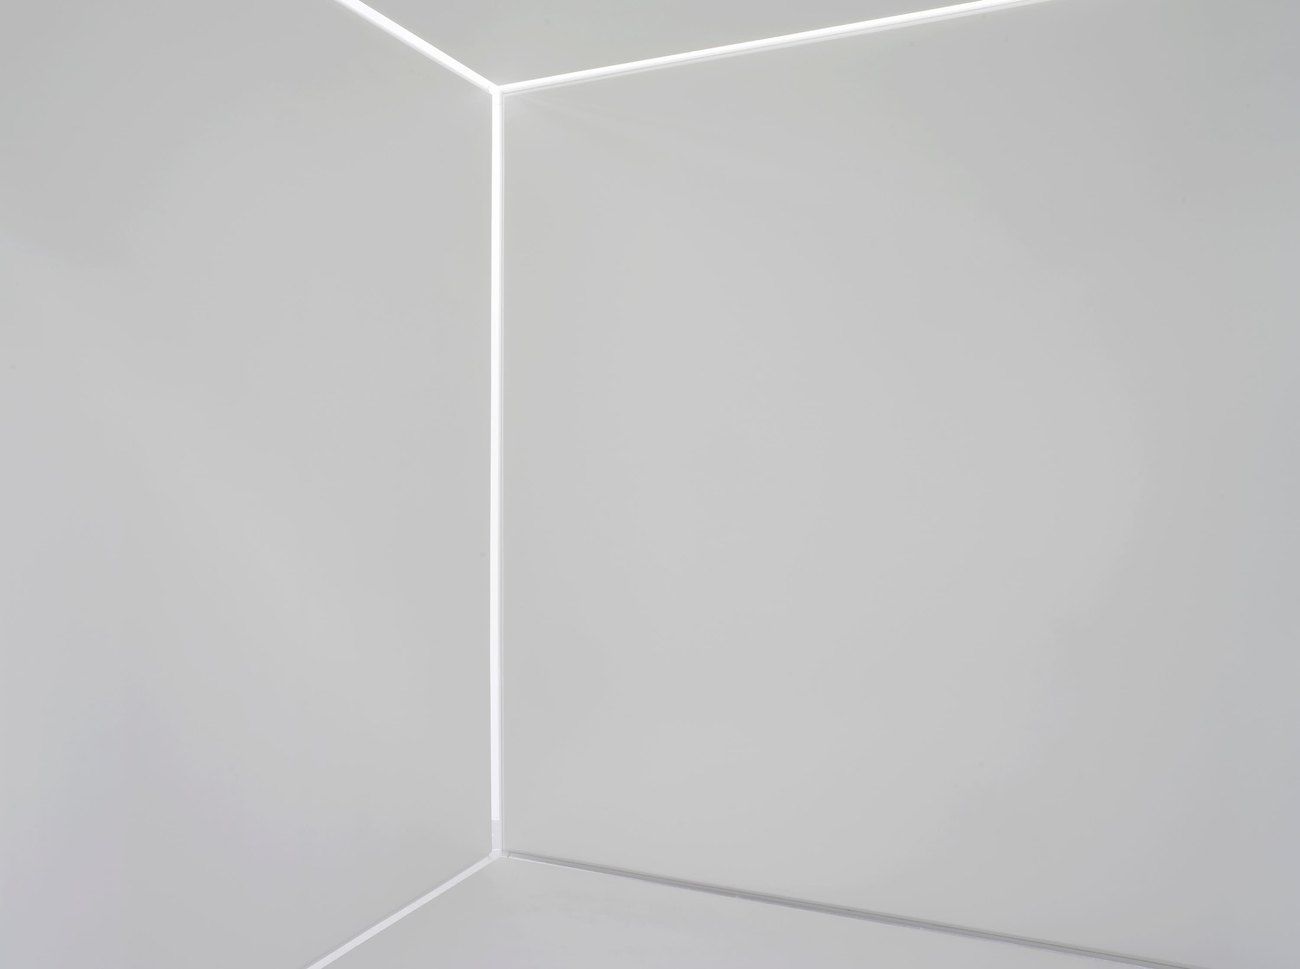
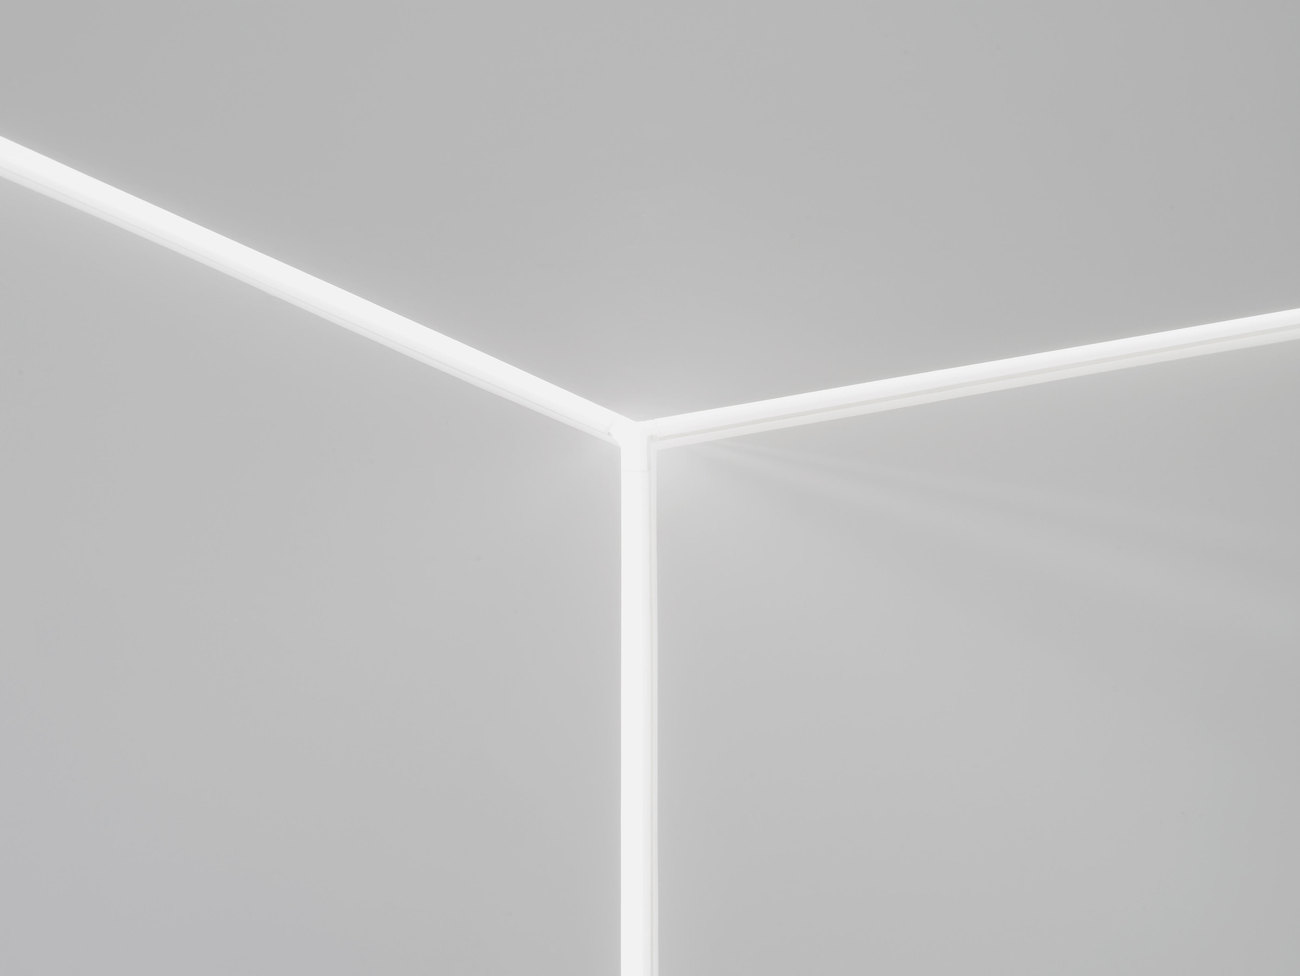
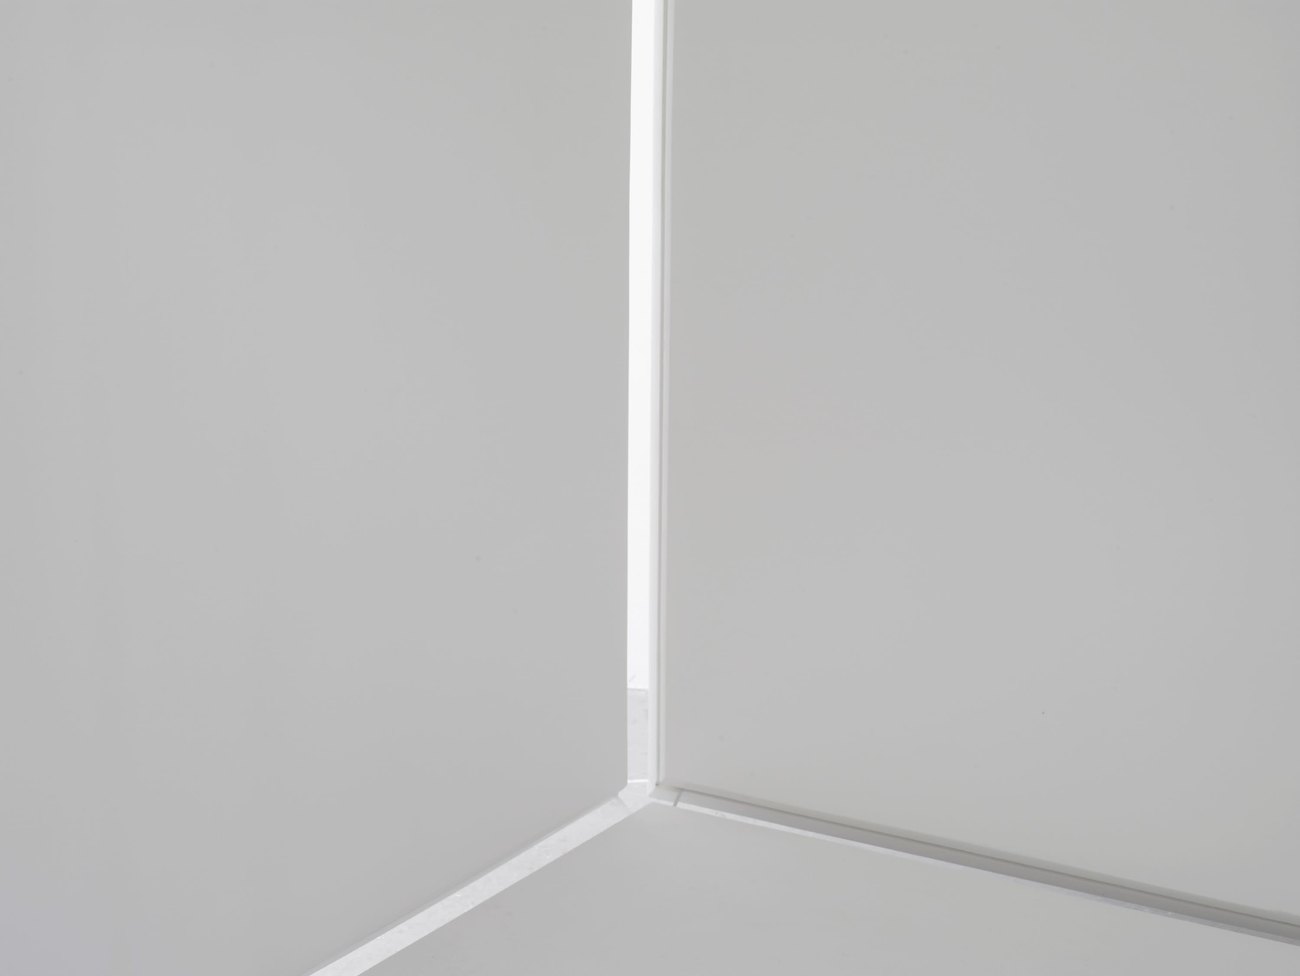
You should now have the first corner fixed in place. Note that where the three strips of perspex meet there should be an equal triangular space. If the horizontal strips seem to slip down then make small paper shims/wedges to place in the rebate to keep the horizontal Perspex strip in position and the triangular gap even in size.
Continue the same technique until all four walls are in place.
Placing the roof:
Strap or hold the four sides of the sculpture together. Pass the roof section up and onto the top of the walls so that it sits long-ways over-hanging the edges. Make sure there are plenty of people to help (ideally four or more), as this needs to be done very gently so as not to scratch any of the panels.
Go inside the sculpture and with a minimum of four persons lift the roof section up and turn it into its desired position so that it’s floating above the walls. Place the Perspex strips into the rebates on top of the walls. Designate one edge of the roof and lower this to slot onto the corresponding perspex strip. Next ease in the two sides working evenly along both at the same time so the roof evenly slots down into place. Finally fit the last edge onto the Perspex. The roof should slot in evenly with the same size gaps and triangular spacing as the wall sections.
Finish:
When the sculpture is assembled make any last alteration by either moving, wiggling or pushing panels. Check that all the gaps between panels are evenly spaced and all the corner triangles are even in appearance. Touch-up, fill, sand and/or repaint any scuffs and/or paint work.
Take down:
Exactly as above but in reverse, Make sure when taking down panels that the perspex strips are removed early as they are likely to get caught between rebates and can easily drop out and potentially scratch etc.
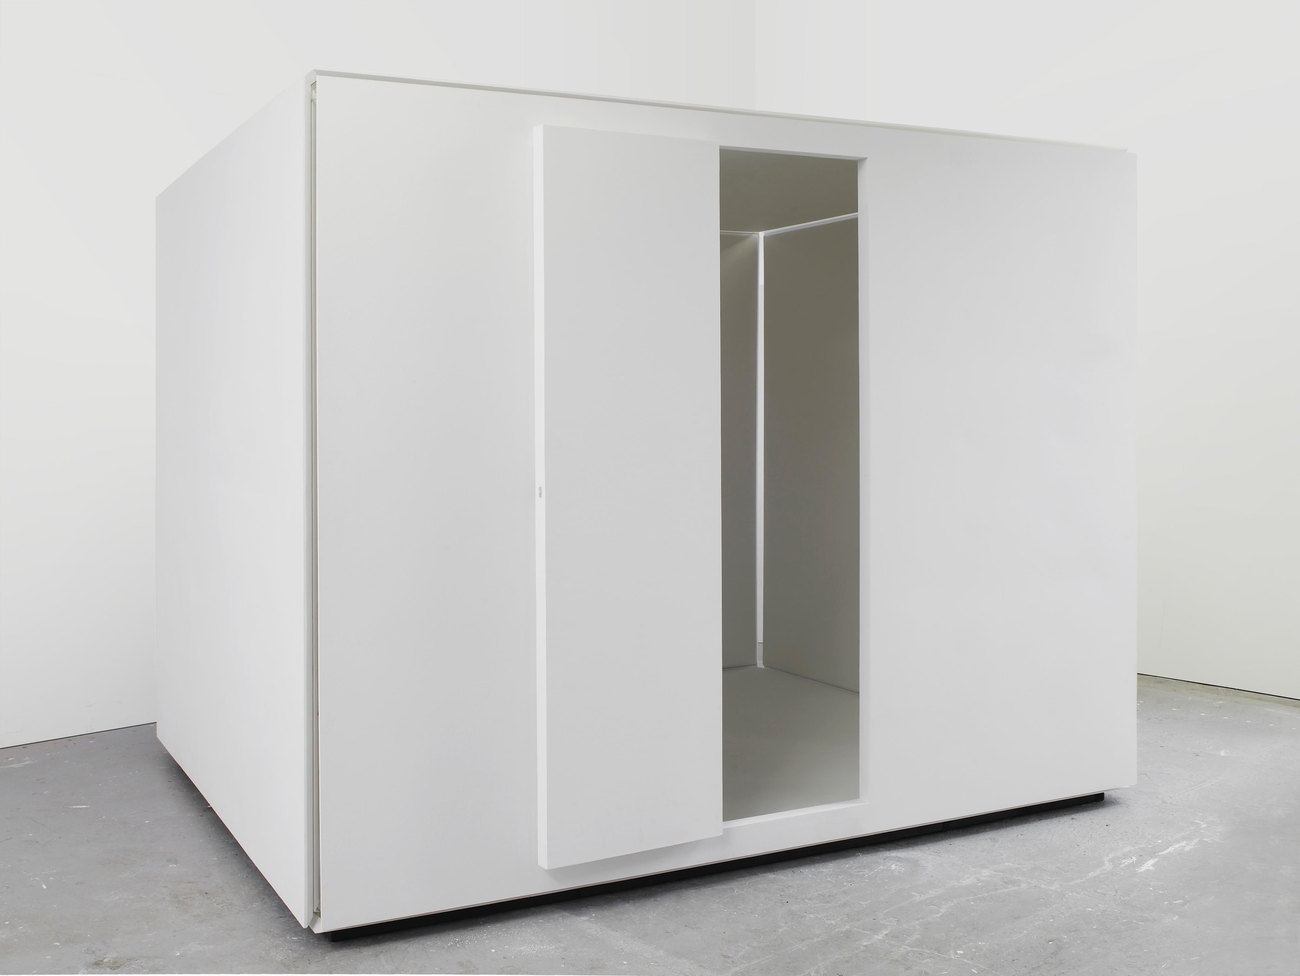
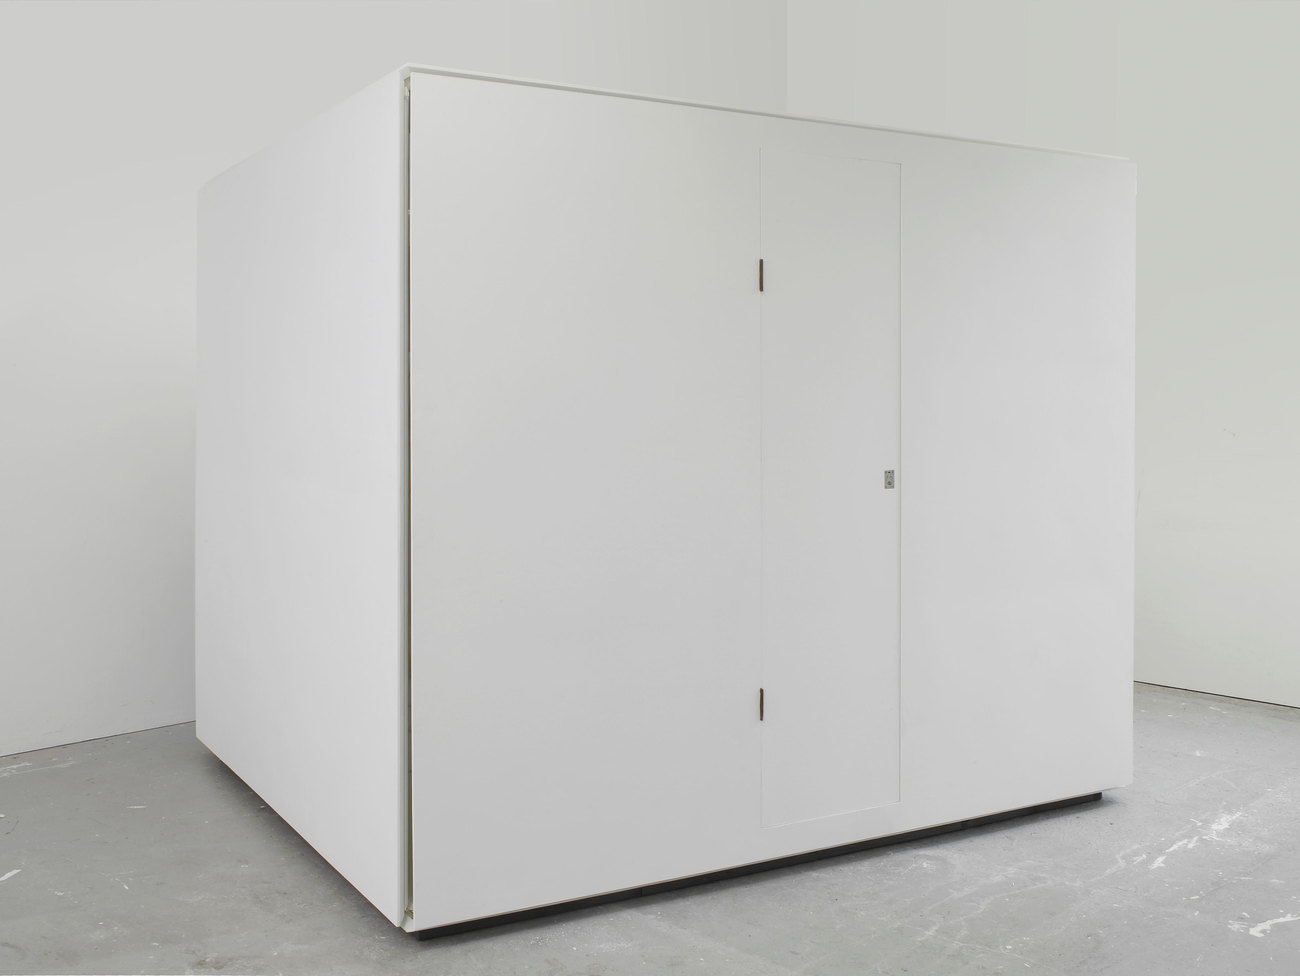
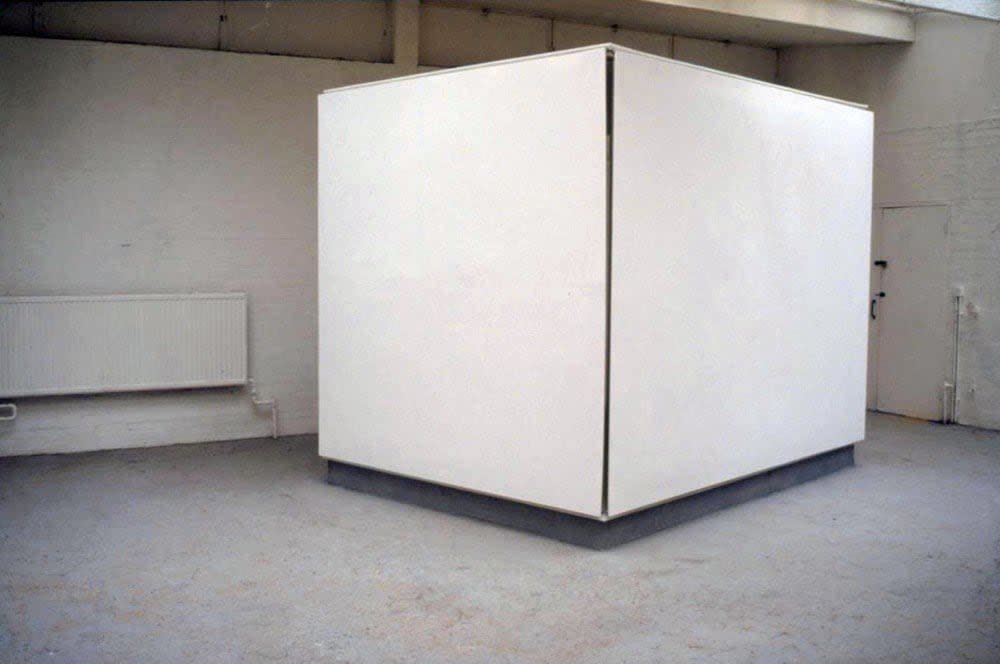
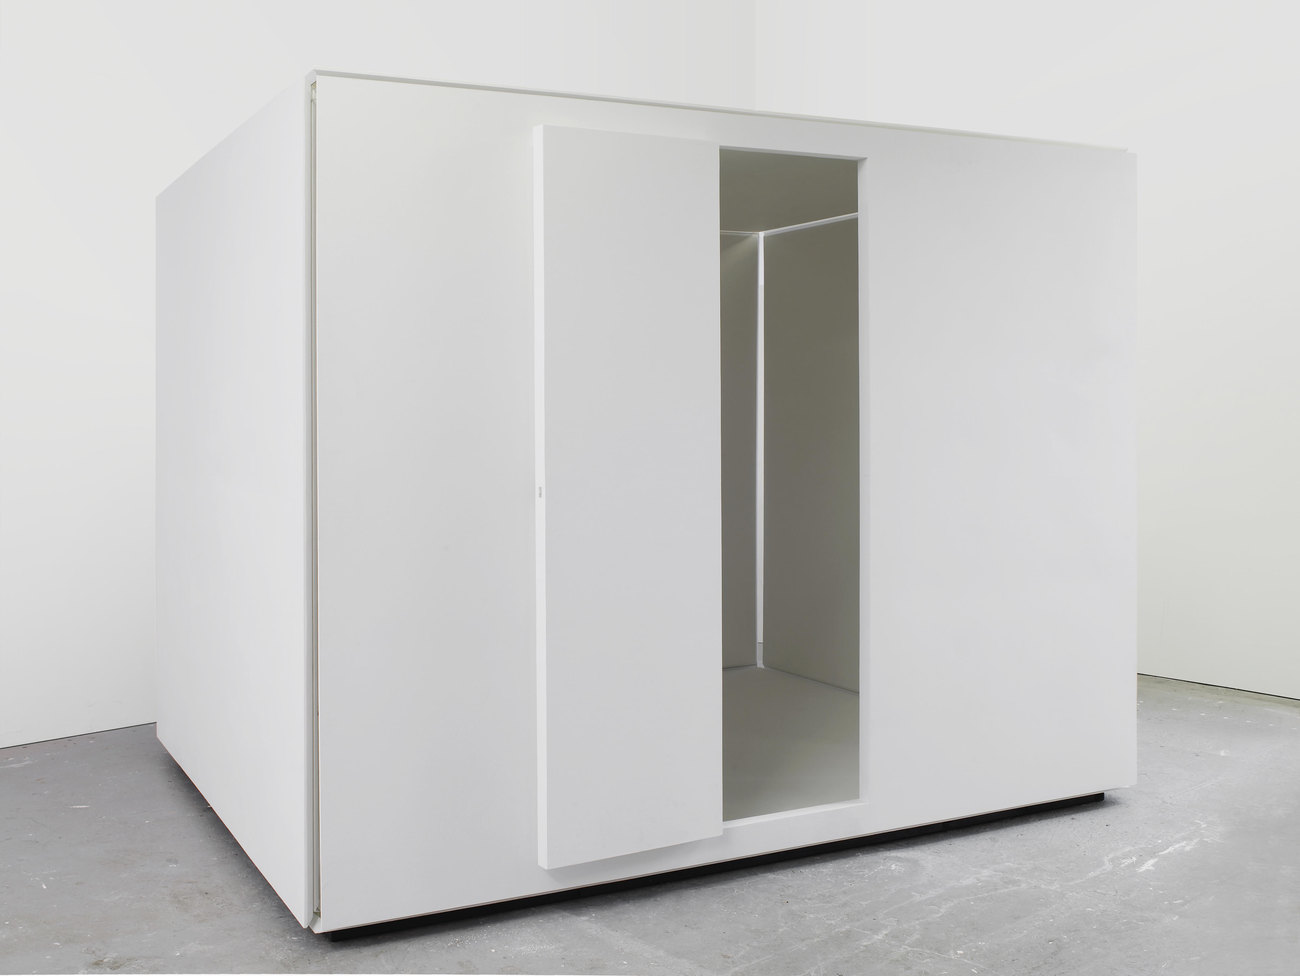
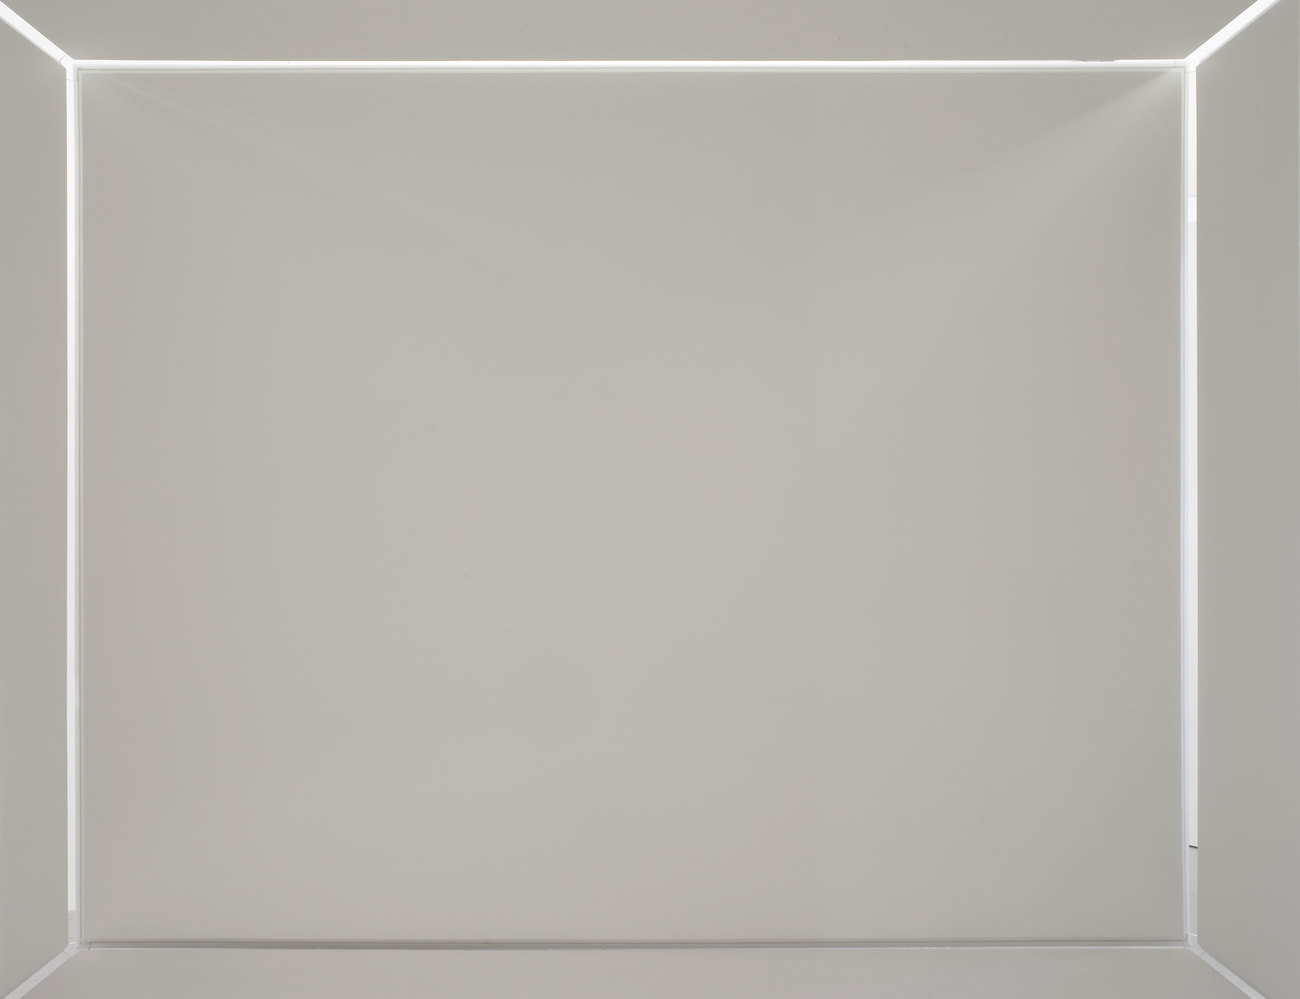
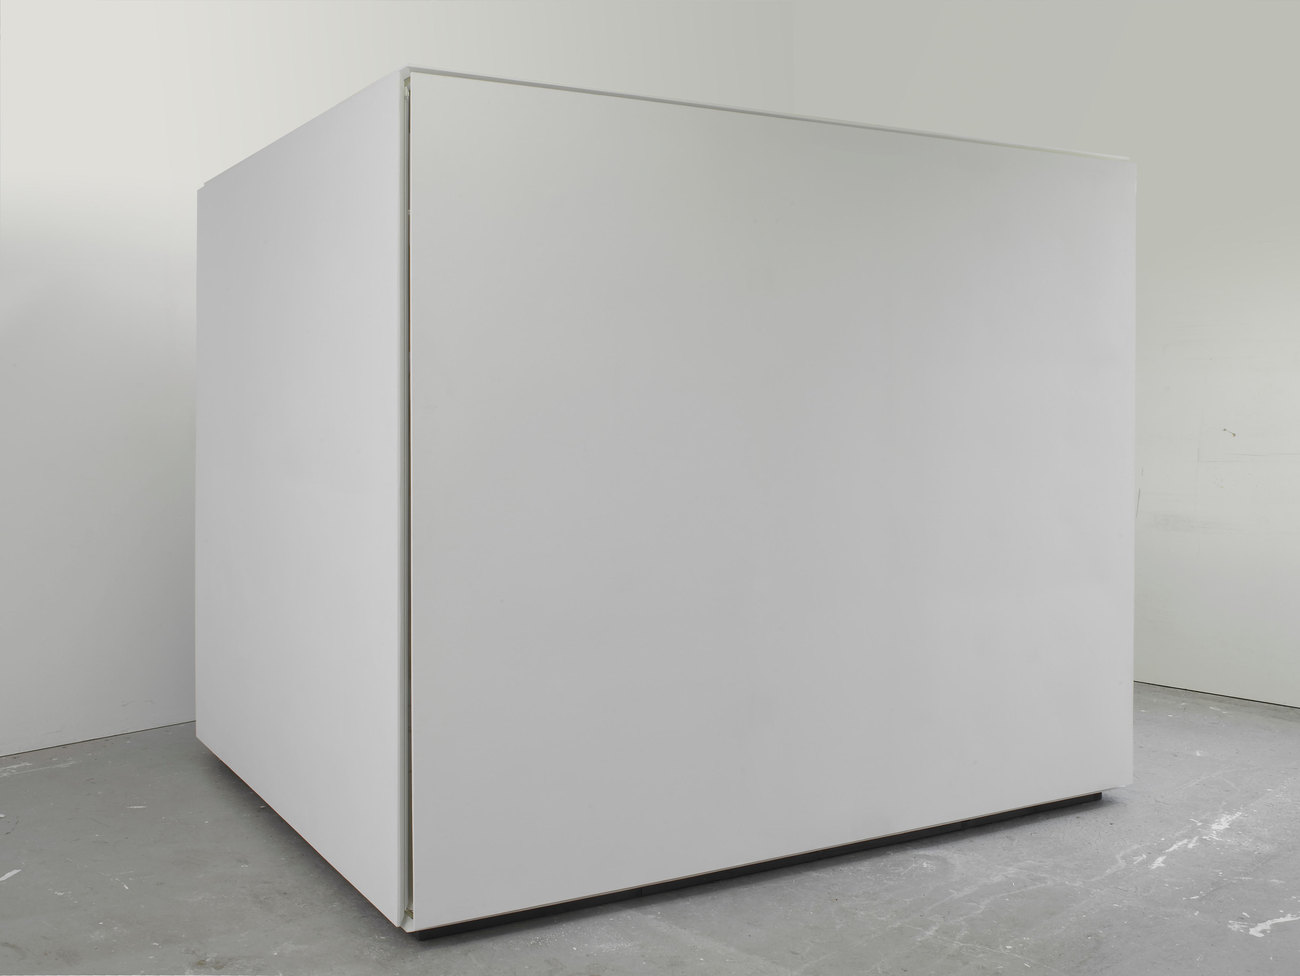
A cubic room with transparent edges and a door on one side. White on the outside, but dark inside, with the only light coming in through the perspex edges.